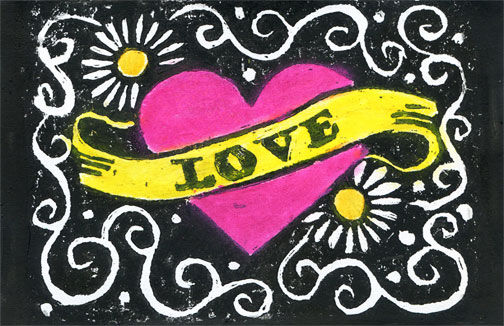

While I was making 30 of these postcards for a swap here at Mixed Media Club, I shot a lot of video. Below are some short lessons on the various things I did to put them together.
Tools
I carve stamps on an assortment of materials, with minimal tools. Here’s a quick look:
Transferring the Design
There are a variety of ways to transfer a design to the rubber. Here are a few suggestions:
Carving the Stamp
Once you have the right tools, carving a stamp is pretty straightforward. Here’s how I carved this stamp:
Printing the Design
Once the stamp is carved, it’s time to pull a test print, and then print the finished design. Here’s how I did that:
Adding Color
I wanted to add a little color to the design after it was printed. Here’s a look at the media I tried, and what worked:
Such a great series of videos. Love seeing your process. Especially because I was lucky enough to have one. Thanks Lisa and thanks for hosting such a successful post card swap.
I wish there was a place to post the cards I received to thank the artists.
Pam, you should never post photos of items created by other artists without first obtaining their permission, which is why I don’t provide a place for you to do so. You should always feel free to post photos of your own work on your blog or social media accounts, and link to other artists as a way to thank them.